


Updated: May 25, 2026
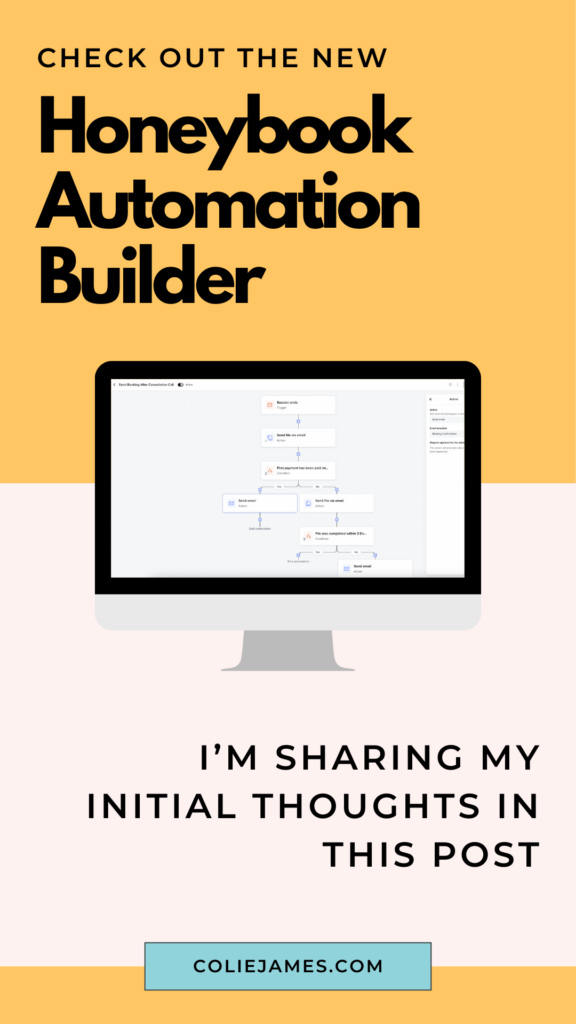
When I first got access to HoneyBook Automations 2.0, I wrote this post after 24 hours of playing with it. I was HOOKED and I wanted to tell everyone immediately.
Two years later, I’ve built out Automations 2.0 with real clients inside Systems in Session. I’ve hit the walls. I’ve figured out the workarounds. I’ve updated this post to reflect what I actually know now.
Here’s what two years looks like.
Automations should be the last thing you build — not the first. Before you touch the automation builder, you need a designed client experience and all the assets to go with it. Here’s the reading list to get you there:
First: Old Automations vs. Automations 2.0 — What’s Actually Happening
If you’re a newer HoneyBook user, you only have Automations 2.0. Lucky you — you get to skip this section entirely.
If you’ve been in HoneyBook for a while, here’s what you need to know before you switch:
Your old automations don’t get deleted (anymore). When you switch to 2.0, they move into a separate “Old Automations” section and get disabled. You can switch back to the old builder at any time if you need to. But — and this matters — you can’t run both builders simultaneously. It’s one or the other.
New users don’t have access to the old builder at all, so this decision only applies to people who were in HoneyBook before 2.0 launched.
My take? Switch. But go in knowing what you’re giving up first (more on that below).
The Biggest Win: Conditional Logic (Still My Favorite Thing)
Nothing has changed here. Conditional logic is still the most powerful thing about Automations 2.0 and the reason I recommend it over the old builder every time.
The basic idea: you can design a client journey based on what your client actually does (or doesn’t do).
- Did they schedule the consultation call? Yes → send a confirmation. No → send a nudge.
- Did they complete the booking Smart File? Yes → booking confirmation + next steps. No → follow up with a reminder.
- Did they pay the deposit? Did they sign the contract? Did they view the file? Now you can take different actions based on the answer to any of these.
This is the thing that was completely missing from the old builder. Before, you were just firing steps in sequence and hoping clients followed along. Now you can actually respond to what they’re doing.
One warning though: conditional logic is powerful, and it can get out of control fast.
If you’re using conditional branches multiple times inside one automation, it starts to look like a choose-your-own-adventure novel that nobody can follow. I’ve built it. I’ve had to rebuild it. Build smaller automations that each do one job — it’s a lot easier to manage and troubleshoot later.
Multiple Automations on One Project (This One Changed Everything)
In the old builder, you could only have ONE active automation on a project at a time. If you needed to run a second one, you had to delete the first. Which meant most people ended up with one enormous automation trying to do everything — inquiry through delivery — because that was the only option.
Now you can run multiple automations simultaneously on the same project. That sounds simple, but it changes how you build entirely.
Instead of one giant automation that covers your whole client journey, you can build smaller ones — one per phase. Inquiry. Booking confirmation. Onboarding. Pre-session prep. Delivery. Each one does its job and nothing else.
Dubsado users have been working this way for years. It’s cleaner, easier to troubleshoot, and a lot less terrifying when something needs to change.
David put it perfectly when we were working through his build: “Building the automation is actually pretty easy. Clearly laying out what you want to happen is the hard part.” And the shift to smaller, phase-based automations was a big part of that clarity. We just had to rethink what a workflow actually is.
💛 David came into Systems in Session having already tried to DIY his HoneyBook setup — he had the technical skills, he just needed someone to bounce ideas off of and double-check his work. What he walked away with was the mental framework to run his own systems, hand things off to a VA, and build new automations without coming back to me. Read David’s full story →
What I Learned Building With Real Clients
When I built out Automations 2.0 with my first Systems in Session clients — Kelly (luxury family photographer) — we ran into the same issue.
We built the automations the way I had always taught: organized by phase, big and complete, covering a lot of ground. And it worked — until clients didn’t follow the ideal workflow. A client skipped a step. Someone booked outside the normal process. And suddenly we were staring at an automation we couldn’t adjust mid-run.
So we rebuilt them smaller. One automation per specific job. The inquiry automation does one thing. The booking confirmation automation does one thing. The pre-session prep automation does one thing. More automations, less chaos.
Kelly described the result better than I ever could: “The mental load it’s taken off of me is amazing.” She went from feeling like she was constantly dropping the ball — juggling a full-time job as a CRNA, three kids, and a luxury photography business — to a system that runs without her babysitting every client.
💛 Kelly was resistant to automations at first because she worried they’d make her experience feel impersonal. What we built together kept everything hands-on and customized where it mattered — and automated everything else. Read Kelly’s full story →
The Onboarding Workflow Split (A Specific Example)
Here’s where a lot of people hit a wall when switching to 2.0.
In the old builder, you could have an onboarding automation that ran from payment received all the way through to session day, with steps that fired at specific times before the project date. Like: send a prep guide 3 weeks before the session. Send a reminder 5 days out. That kind of thing.
In Automations 2.0, you cannot trigger an action inside a running automation based on a before/after project date. That trigger is only available as the trigger to START a new automation.
Which means your old onboarding automation that had date-relative steps baked into the middle? It needs to be split into two:
- Automation 1: Triggers on payment received. Handles everything immediately after booking.
- Automation 2: Triggers X weeks before the project date. Handles all the pre-session prep.
This is actually how I now build for all my clients. The split feels like a limitation, but it results in cleaner, more manageable automations anyway.
Switching to 2.0? Here’s What You Lose
I want to be honest about this because I’ve seen people switch and then feel blindsided.
1. You can no longer edit an email when you’re also sending a file. In the old builder, you could customize the email that accompanied a Smart File before sending. In 2.0, you can use an email draft — but you can’t use an email draft AND send a file at the same time. It’s one or the other.
2. You cannot adjust an automation once it starts. No editing, no pausing, no skipping a step (well — you CAN skip individual steps, but you can’t add or remove them). If you need to change something mid-automation, you cancel it and restart. This is the biggest friction point and HoneyBook knows it — it comes up constantly in the community.
3. Before/after project date triggers only start NEW automations. Covered above, but worth repeating: if you had date-relative steps inside a running automation, that’s not how 2.0 works. You’ll need to rebuild those as separate automations.
4. You need two versions of any automation you might trigger manually. If you have an automation set to trigger automatically (say, when a contact form is submitted) but you also want the ability to apply it manually to a project that came in through a different channel — like a direct email — you need TWO separate automations. One with an automatic trigger, one set to manual. Any time you update the content of that automation, you’re updating it in two places. It’s not a dealbreaker, just annoying, and worth knowing in advance.
Trigger Hygiene: My Workarounds
Automations 2.0 gives you more power over triggers than the old builder ever did. You can filter by project type, by tags, by specific forms. That’s great — but it means you actually have to think about your triggers carefully, because there are more ways to accidentally fire an automation on the wrong project.
Two things I now build into every setup:
Add a “wait until first payment received” near the beginning of your booking automations. This creates a natural gate so that your automations aren’t running for leads who inquired but never booked. No more welcome sequences going to people who ghosted you after the first email.
Use a to-do task paired with “wait until task completed” as a manual pause. There’s no guaranteed pause function in 2.0. But if you need to review something — a questionnaire, a specific detail — before the next steps fire, you can create a to-do task and add a “wait until this task is completed” step. Nothing moves forward until you check it off. It’s my favorite workaround and I use it in almost every setup now.
Final Thoughts (Two Years In)
I’m still a fan. The conditional logic alone makes Automations 2.0 worth it — the ability to actually respond to what clients do (or don’t do) is something the old builder never had and I won’t go back.
But go in with realistic expectations. Build small. Split your onboarding workflow. Set up the manual trigger versions of automations you might need to apply manually. And use that to-do task trick.
The automation builder is only as good as the client experience it’s implementing. Build that first.
If you want help building it out, Systems in Session is where we design and implement your complete HoneyBook setup together — strategy, assets, and automations, in that order.


Signature Series


Your business works, but your backend is costing you.
A 4-Part Audio Series for service-based business owners who are ready to upgrade their “just fine” client experience, unlock higher pricing, increase referrals, and grow more sustainable revenue—without overworking behind the scenes.
Get the FREE 4-part audio training series
Systems That Sell


© 2022-2025 Colie James


Close
Start dates available for Q3 2026
Join the waitlist and get first dibs, unlock your FREE 10-minute audit + a surprise bonus if you grab a spot for Q3. Doors Open June 18th.